
Intro
According to Microsoft, “SkiaSharp is a 2D graphics system for .NET and C# powered by the open-source Skia graphics engine that is used extensively in Google products. You can use SkiaSharp in your applications to draw 2D vector graphics, bitmaps, and text.” If you’re like me, you like to start complicated topics as simply as possible and build from there. SkiaSharp is extremely powerful, and some concepts can be complex, but it’s definitely possible to start out simply and build on your base of knowledge. I’d like to do that here.
Video Tutorial
I produced some screen recordings to help you get started with SkiaSharp, since I know it can be helpful to look over someone else’s shoulder to grasp something new. The video series starts here, but will continue with more in the future:
Create a Simple Windows Forms Application
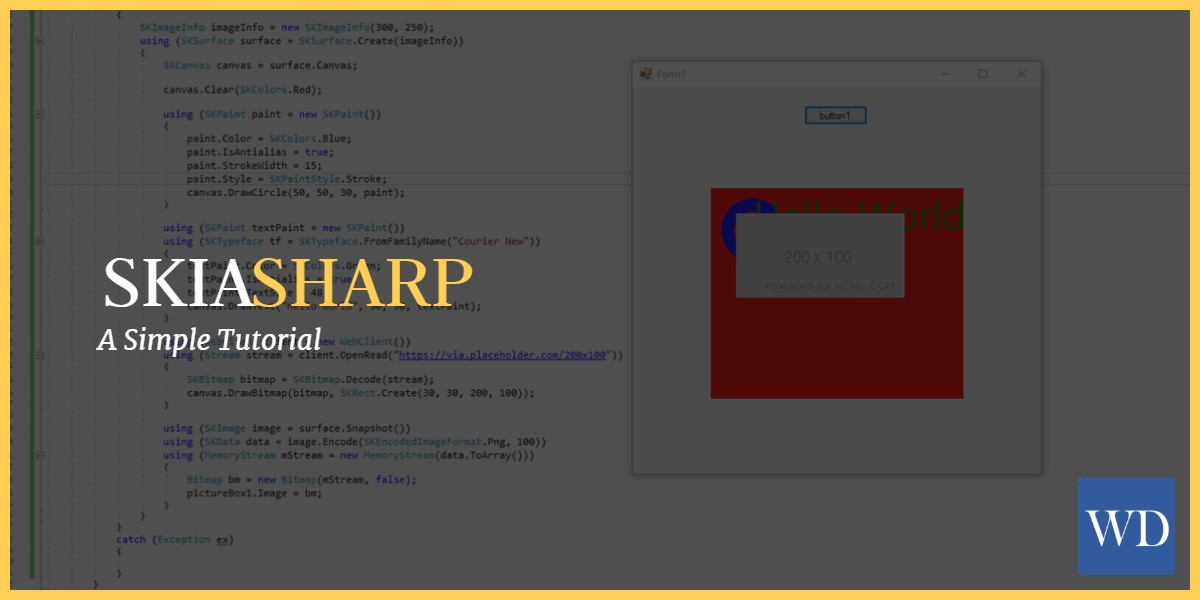
Let’s get a Windows Forms application set up, so we can quickly test code and see what SkiaSharp outputs.
Open up Visual Studio, then go to File -> New -> Project. Select Windows Forms App (.NET Framework). Press OK.
Once your project is created, right click on the project, select Manage Nuget Packages, go to Browse, then search for “SkiaSharp”. Once you find it, simply click to Install it.
If you don’t already have the Toolbox window open in Visual Studio, go to View -> Toolbox, or press Ctrl + Alt + X. Find Button and drag the button onto your app. Open its Properties and note its Name. Then, drag a PictureBox onto your app and set its size to something like 300 x 250. Note its Name also.
Double-click on the button, and Visual Studio will auto-create an onclick action that will fire when you click the button, and that’s where you can put your SkiaSharp code to generate an image.
Getting Started with a Surface
To start, you need an SKSurface. You might say a surface in SkiaSharp is like an easel, and an easel must have a canvas on it… an SKCanvas, in this case. So let’s get our surface created:
SKImageInfo imageInfo = new SKImageInfo(300, 250);
using (SKSurface surface = SKSurface.Create(imageInfo))
{
    SKCanvas canvas = surface.Canvas;
}
We simply give the surface a width and a height through the SKImageInfo object, and we’ve got our surface and canvas ready to go. The canvas has the methods ready to draw shapes, text, images, etc. onto itself, and we’ll see that in a bit.
Note that the surface is wrapped in a using block. This is important as many classes in SkiaSharp inherit from IDisposable, which means they need to be disposed of after using them. You either need to ensure you do this manually for each disposable object, or you can just use a using block, and it will dispose of the object for you when you’re done using it.
Next, you’ll probably want a background color of some sort, so you can either draw a color onto the canvas using canvas.DrawColor, or it’s probably a better idea to get in the habit of clearing the canvas first, and when you do, you can give it a color to paint on the canvas:
canvas.DrawColor(SKColors.Red);
canvas.Clear(SKColors.Red); //same thing but also erases anything else on the canvas first
Colors
There are some different ways to define a color in SkiaSharp, but the two easiest ways are to either use a predefined color or parse a simple hex color:
SKColor colorPredefined = SKColors.Red;
SKColor colorHex = SKColor.Parse("ff0000"); //also red
Basic Shapes
Let’s draw a simple circle on the canvas. It’s super simple:
using (SKPaint paint = new SKPaint())
{
    paint.Color = SKColors.Blue;
    paint.IsAntialias = true;
    paint.StrokeWidth = 15;
    paint.Style = SKPaintStyle.Stroke;
    canvas.DrawCircle(50, 50, 30, paint); //arguments are x position, y position, radius, and paint
}
The SKPaint class is like defining a paintbrush. You then use that paintbrush to draw or write something on the canvas. So if you want to draw a blue circle, you first define a paintbrush that draws in the color blue, then run the draw action (canvas.DrawCircle in this case) using that brush.
Output to Screen
We want to see what we’re doing, right? We’ve drawn this beautiful blue circle on a red background, and I just can’t wait to see it.
There are a few steps to take to get your creation visible:
using (SKImage image = surface.Snapshot())
using (SKData data = image.Encode(SKEncodedImageFormat.Png, 100))
using (MemoryStream mStream = new MemoryStream(data.ToArray()))
{
    Bitmap bm = new Bitmap(mStream, false);
    pictureBox1.Image = bm;
}
We start off by taking a “snapshot” of the surface. Keep in mind that as you draw things on the canvas, you’re essentially stacking them on top of each other. If you first draw a shape, then some text, the text will be on top of the shape since it was drawn afterward. When you then take a snapshot of the surface, it’s like taking a picture of what’s visible and handing you back the flattened image.
After getting the image, we need to turn it into raw data. You use the image.Encode method to convert the image to a specific image format. I used PNG, since it’s lossless. You can use JPEG or one of many other available formats as well.
Lastly, we’ll create a MemoryStream and write the byte array from the SKData object into it.
Since we now want to see the generated image in our Windows Forms app, we need a PictureBox, and the PictureBox.Image property accepts a Bitmap. We can create a Bitmap from a stream, and that’s it! The image will be displayed in the PictureBox we included in the app.
Your Turn!
What are your thoughts about the SkiaSharp library? Have you enjoyed using it?
Did you enjoy this tutorial? Are there things missing you’d like me to cover, or do you have other questions? Let me know in the comments below!